When formatting a Word document to be printed as a book, it can be difficult to produce complex layouts. In this article I’ll give you some ideas how you might create parts of those layouts using text boxes in Microsoft Word.
Table of Contents
It is possible to layout the entire text of a book using text boxes. In the case of a book that contains many photos or other graphics and relatively little text, using text boxes could be helpful.
For most books, I would not recommend overusing them. In an average book that contains primarily blocks of text, using text boxes throughout would almost certainly over-complicate the process.
Most documents that are primarily text, such as novels, can be formatted in Word without too much difficulty by using styles and other built-in tools.
Text boxes can be useful when you want to have a mixture of font sizes, pull-quotes, text in front of images, and more.
They can be useful when you want to have complex chapter title pages with the title printed in front of a background texture or image.
Graphs, maps, images, and other similar things can easily be inserted into a document and have the text wrap around them.
Text boxes come in handy when you need to do those things in a way that Word does not do via the more basic methods.
In another article we covered using text boxes to keep images and captions together.
Note: Please note that the examples shown in this article are not meant to be perfectly styled. They are minimally styled and are intended just to give you an idea how to do the task. If you use these methods along with your own imagination and imagery, you can come up with some very nice additions to your book.
How to create pull-quotes using text boxes in Microsoft Word
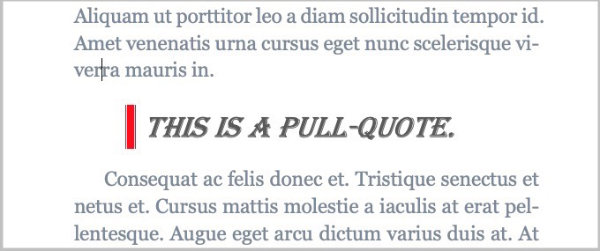
Text boxes are perfect for creating pull-quotes, whether they are in a normal document or in a book.
To create the pull-quote, place your cursor where you want the pull-quote to appear.
- Open the Insert tab.
- Click the Text box button.
- Choose Draw a text box. The cursor shape will change.
- Click and hold the mouse while you drag the cursor down and over to create the box.
- Type your quote in the text box.
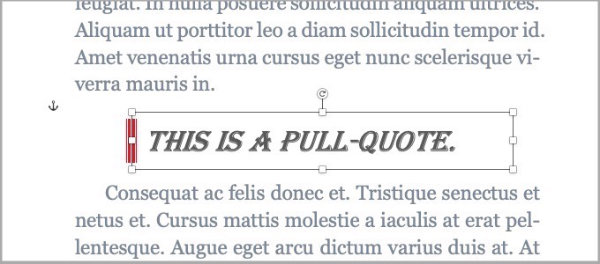
You can style your pull-quote as well. To style the text, select the pull-quote text and use the text styling features in the Home tab to change its size, font, color, etc..
You can add a decorative touch to your pull-quote. For example, you can insert a wide colored border on one side of the box.
In our example, we’ll do away with the line that outlines the text box. Then we’ll add a border to the left side.
Microsoft Word calls the thin border around the text box an outline. To remove that outline:
- Click inside the text box to select it.
- Open the Shape Format tab.
- Locate the Shape Outline button and click to open it.
- At the top of the Shape Outline panel, click No Outline.
The text box should be borderless now.
Now that we’ve done away with the outline (or border), we’ll add a thick border to the left side of the text box.
- Click in the text box to select it.
- Open the Design tab.
- At the far right end of the Design tab, click on the Page Borders button to open the Borders and Shading panel.
- Open the Borders tab in the Borders and Shading panel.
- In the Setting column, select Custom.
- In the Style column, select a border style, color, and width.
- In the Preview column, click along the left side of the simulated text to set a border there.
- Also in the Preview column, select Paragraph after Apply to:
- Click OK.
You should now have a pull-quote with a slightly styled border on the left side. You can drag the text to situate it exactly where you want it.
Drag the box in from the margins so that it is indented where you want it.
Note: In this exercise I set the color of the heavy left border to red for accent purposes.
In your book, unless you pay for color printing inside your book, that accent border will be printed black and white like your text.
How to use text boxes in MS Word to break up large sections of text
Text boxes can be used to break up a large block of text and have it carry over, in order, from one text box to the next.
Think of a magazine page containing a story that jumps from column to column or over photos, yet keeps its coherence.
This is possible because text boxes can link to each other.
You would create a text box on a page and insert the entire story into the first box. At that point you would only see a fraction of your text. The remainder would be hidden.
Wherever the next block of text goes, another text box is inserted and linked to the previous box. That act of linking the two allows the story to continue in the second box. Repeat the process as many times as necessary to complete the layout.
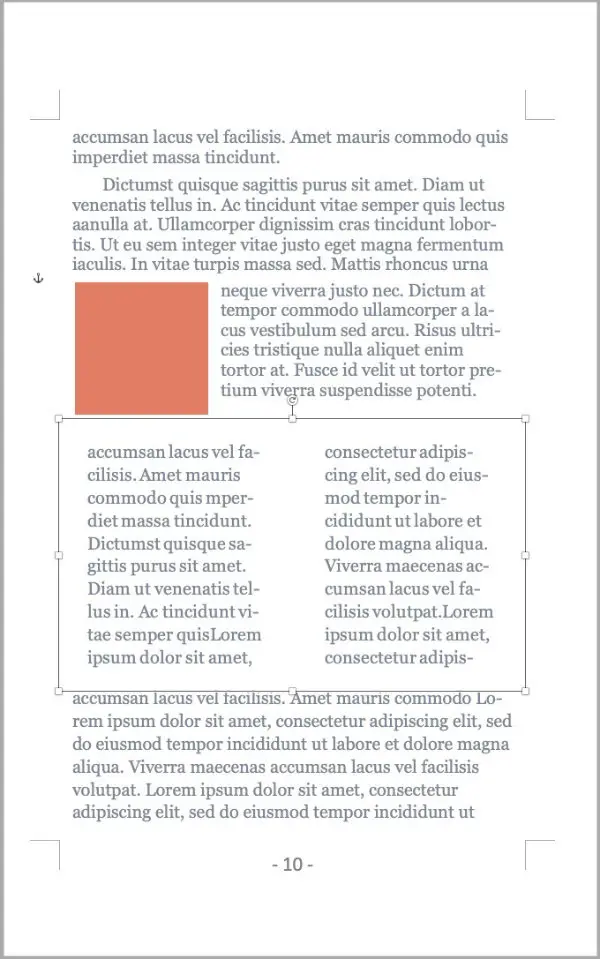
For this exercise, we’ll have part of a chapter that begins with a full page of text, followed by a page of mixed content including text that is continued from the previous page, then another full page of text.
Reminder: As stated earlier, the instructions that follow are not to be taken as perfect layouts for books. They are not. The font size is quite large. Line spacing is imperfect.
They will not necessarily result in beautifully formatted pages if left as is. Instead, they present several example uses of text boxes that you might use in formatting a book.
Take the ideas presented here and use them if they apply in your case. Use one or more of these ideas and format them to match your project. You will adjust the size of the text boxes, the line spacing, the distance between the text boxes, and the font size to meet your needs.
Just as you did earlier with pull-quotes, you adjust line spacing, font size, etc. by selecting it and using the text settings in the Home tab.
As you make those adjustments, you should see the appearance of your document improve greatly.
I left the outline of each text box turned on in some screenshots so you can see the actual location of the text boxes in relation to each other.
Follow the instructions given earlier to set the text boxes with No Outline.
HINT: You can select multiple text boxes by holding the Command key on Macs or the Control key on Windows while you click on boxes, one after the other. You can then set No Outline on all of the selected text boxes at one time.
You can also change the font and font size in all of the selected boxes simultaneously.
Format a chapter of mixed content using MS Word text boxes
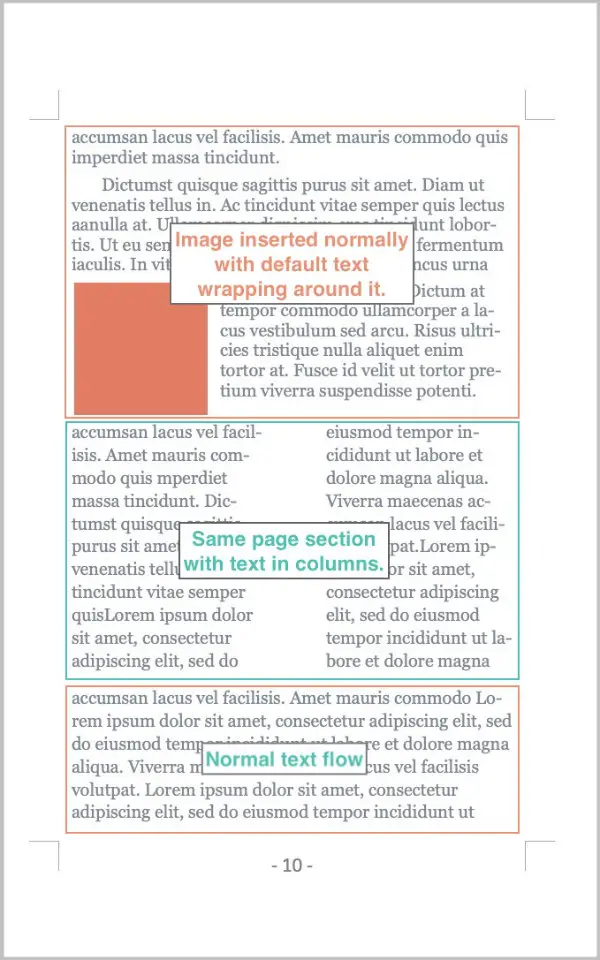
As indicated, this section shows you how to use text boxes to place mixed content on a page. As I said near the beginning of this article, text boxes can be easy to use. But they can also overly complicate the process of laying out a book for print. At the end of this section, you’ll see an image that shows how to do the same thing using basic MS Word features.
For the first page, we’ll draw a text box that completely fills the area inside the margins. Insert the text box just as you would any other, but size it from margin to margin vertically and horizontally.
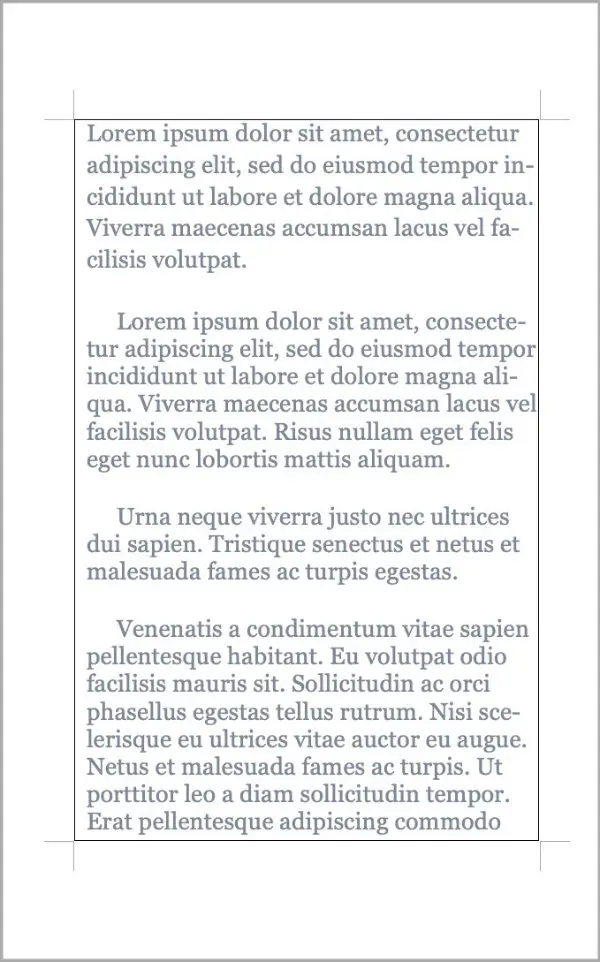
Be aware that text boxes do not automatically adhere to margin restrictions. It is possible to position a text box so that it extends beyond a margin in any direction. In the exercise we’re doing, be sure the text box aligns as perfectly as possible with the margins,
Paste the full content of the chapter into that box. The box is obviously not large enough to display the entire chapter, but that’s okay.
On the second page, insert a text box that is large enough to contain a small amount of text—perhaps one paragraph. If you need to adjust its size, you can easily do that by dragging the square handles on each side inward or outward, up or down.
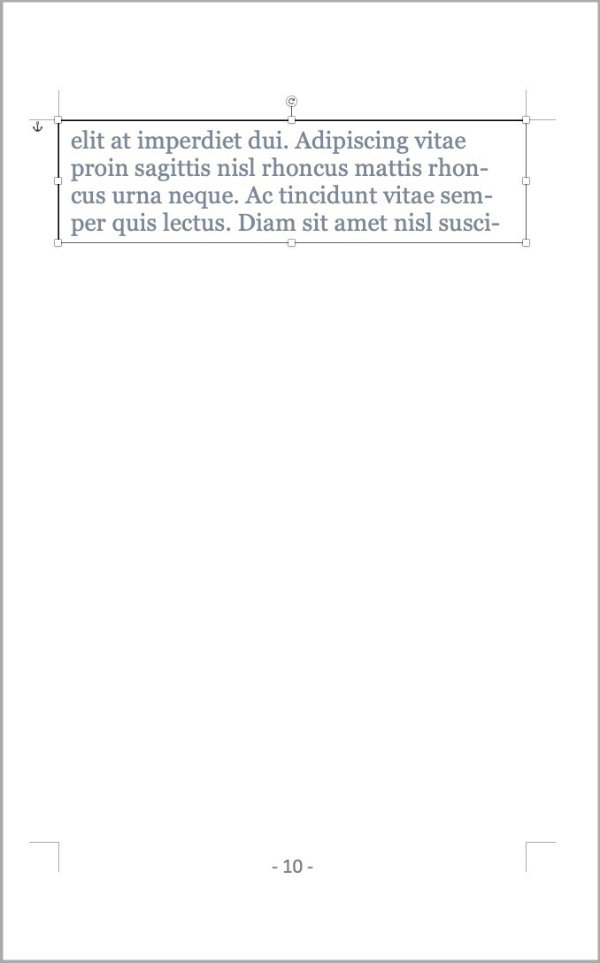
Before you see text in the newest text box, you’ll have to connect it to the one on the previous page.
To connect the two text boxes, select the first text box—the one containing a full page of text.
In the Shape Format tab click the button labeled Create Link. (For future reference, if the button is labeled Break Link instead of Create Link, that indicates the text box you’ve selected is already linked to another text box. You can only link to an empty box.)
When you mouse over the new text box, the cursor will turn into an icon of two chain links. When you see that icon, click your mouse. The new text box should be full of content.
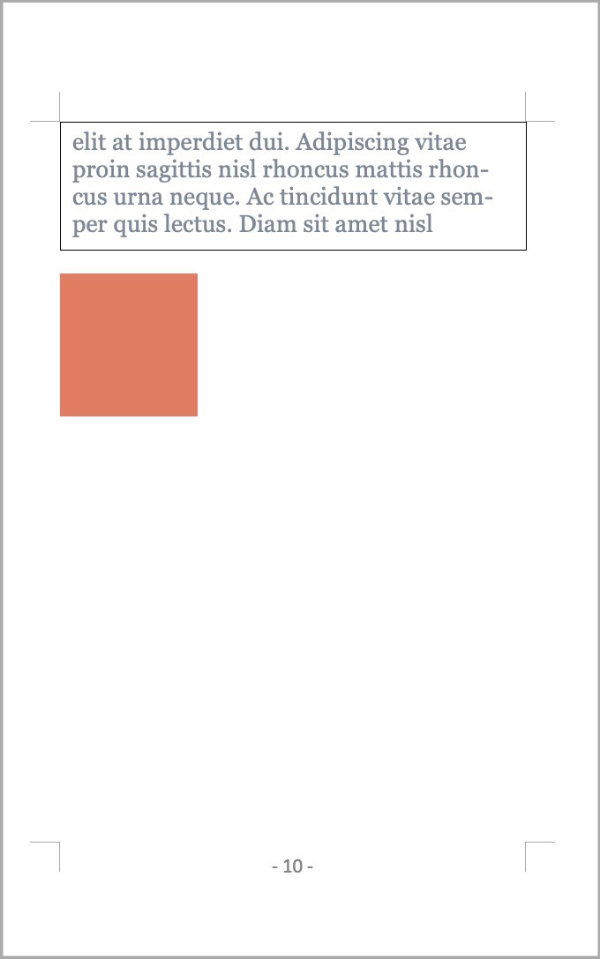
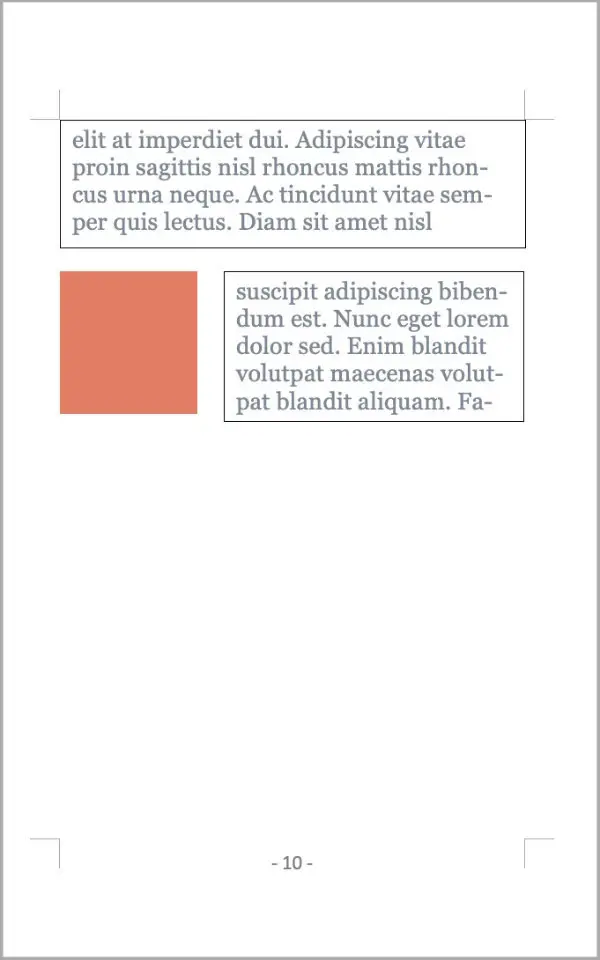
Below that paragraph of text, insert a graphic—a photo, map, graph—whatever works in your book. Left align the graphic. It can be inserted straight into the document or inserted using a text box.
To the right of that graphic, insert another text box and connect it to the one above it. It should now be full of text.
Next we’ll insert two text boxes, one on the left, the other on the right. Drag the box outlines to the same height to create two columns.
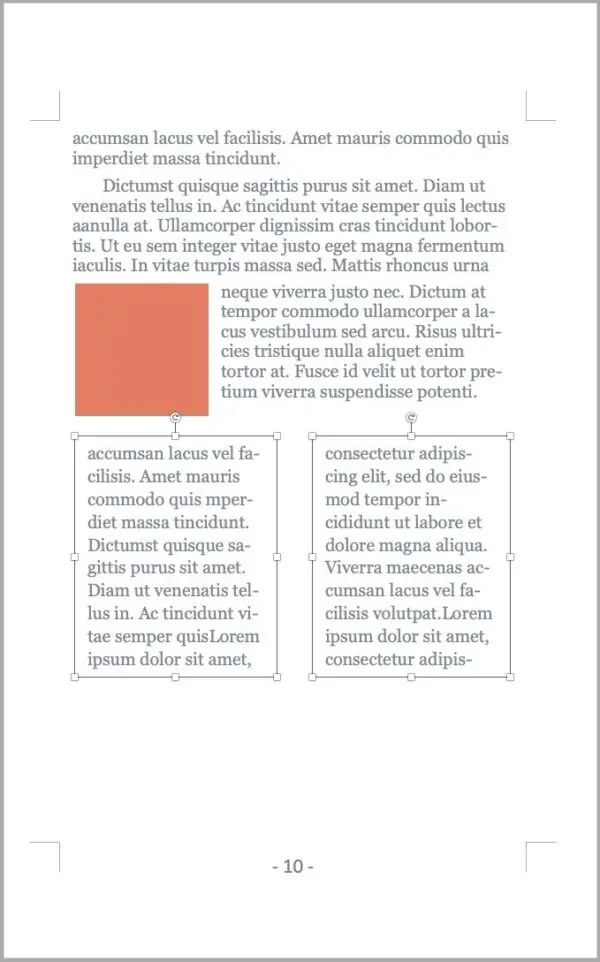
Connect the text box on the left to the one that you inserted to the right of the graphic earlier.
Connect the box on the right to the box on the left.
You should now see a block of text on the left that is horizontally aligned similar to the one on the right.
Draw another text box below the two side-by-side text boxes. Make this one full-width and large enough to fill the remainder of the page. Connect it to the last text box you created.
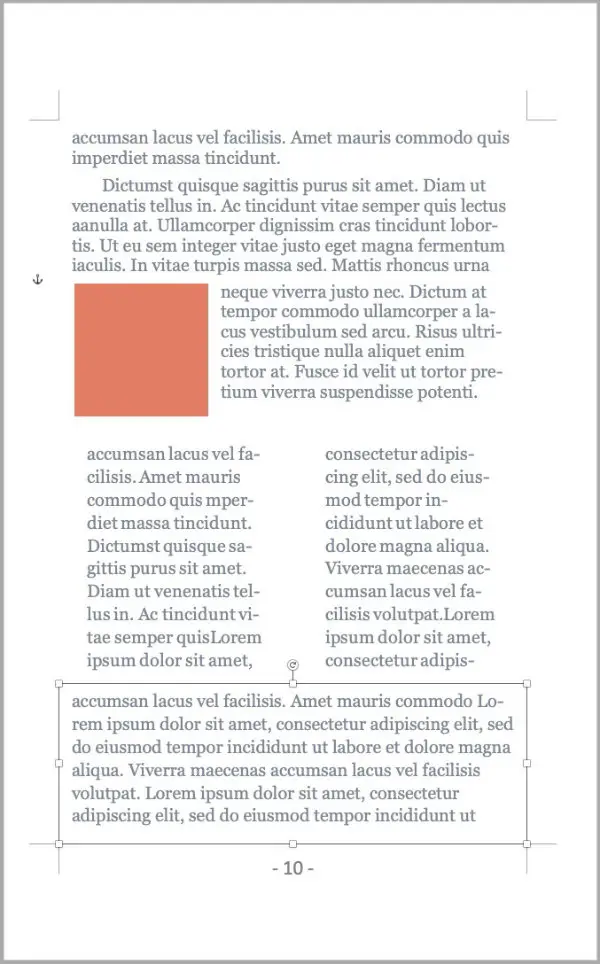
On the third page, repeat the process you used to create the text box on the first page. Connect it to the last paragraph on the previous page.
Format the text in each box with the same line spacing, paragraph spacing, font sizes, etc. as your full text pages. This will result in a more consistent flow through the page.
The following screenshot shows the text boxes with outlines turned off.

NOTE: Text that is flowing normally outside of text boxes does not connect with or flow in and out of text boxes. Similar to the way text continues after an image is inserted, text continues as if there were no text boxes, flowing up to the first one and continuing after the last one.
This exercise assumes the text you insert into the text boxes is a portion of the same text as the rest of your book and continues from page to page. If the chapters leading up to this one were formatted without the use of text boxes—the text flowed normally from page to page—you will need to stop the text at the end of the last page before you insert text into the text boxes.
If you don’t, the normally formatted text that preceded this exercise will continue after the last text box as if the text boxes weren’t there, resulting in a repeat of the words that are contained in those boxes.
You could let the text continue after the pages that contain the text boxes. Then determine exactly what text is contained in those text boxes. In the content that continues after the text boxes, delete the part that repeats what is in the text boxes.
Move multiple text boxes as one unit in Microsoft Word
If you would like to have the two side-by-side text boxes acting as one unit, you can do that by grouping them.
- Select the first box.
- Hold the shift key while you select the second box.
- Open the Layout tab.
- Near the right end, click the Group button.
- Select Group.
You should now see a single outline that surrounds both columns. You will be able to drag the columns as one unit.
If you need to separate the text boxes, use the same method, but select Ungroup after you click the Group button.
The simpler way to have a mixed page layout
The following image shows how you could produce a similar layout using standard Microsoft Word features without the complication of lining up text, etc..
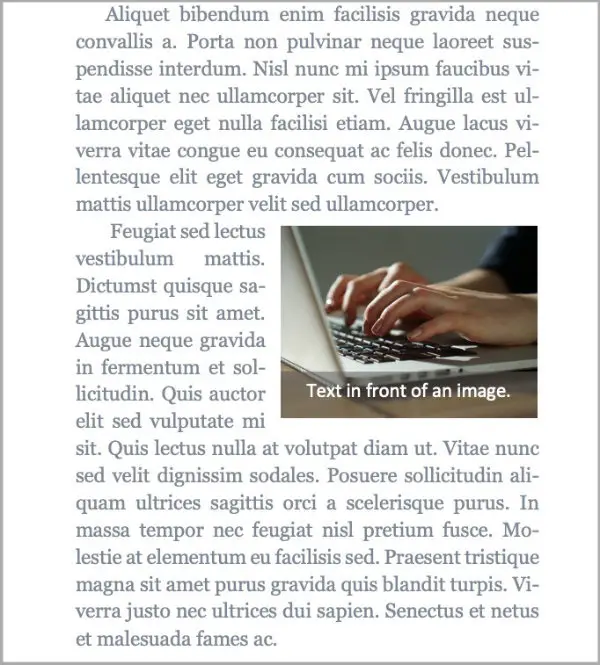
Use text boxes to place text in front of an image
The ability to place text in front of images comes in handy in multiple situations.
You could use a text box to have an image caption in front of an image rather than below it.
Note that you will have to experiment a bit to get the right contrast with a black and white image versus a color image.
- Insert an image using Insert > Picture.
- Center the image.
- Insert a text box on top (in front) of the image.

- Type in the caption.
- Set a background color in the text box and make it partially transparent.
- Set the font color to one that contrasts well against the background.
We also have a guide for placing text in front of images in OpenOffice Writer.
Overlap images in MS Word documents using text boxes
You can also overlap, or overlay, images in Microsoft Word using text boxes. You would do that by creating two text boxes and inserting an image into each of them. You could then drag one box to overlap the other.
I would recommend that you not use text boxes for that purpose. My reason is there is a simpler way to do the same thing and with a better outcome just using Word’s image tools.
The trick is to insert both images into your document then right-click each image and set text wrapping to Square. Once you do that, you just drag one image to overlap the other, or even shrink one and drag it into a corner of the other for an effect similar to picture in a picture on a television.
When you get them arranged as you like, you can select both images and click the Group button in the Layout tab to bind them together into one unit that can be moved without breaking the arrangement.
Create a title page with a full-page background image in Word
You could use a text box to create a chapter title page or a main title page in which the background is a full page image. The title would be in front of that image.
The example in this exercise is a black and white image because your interior images will not normally be printed in color.
One way to create a title page:
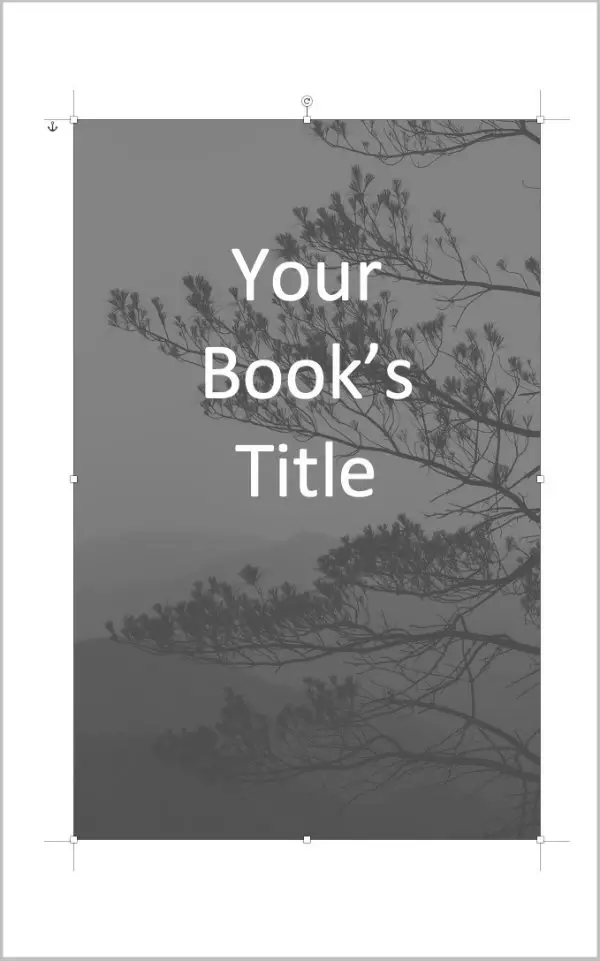
- Draw a full page text box and insert a full page image into it.
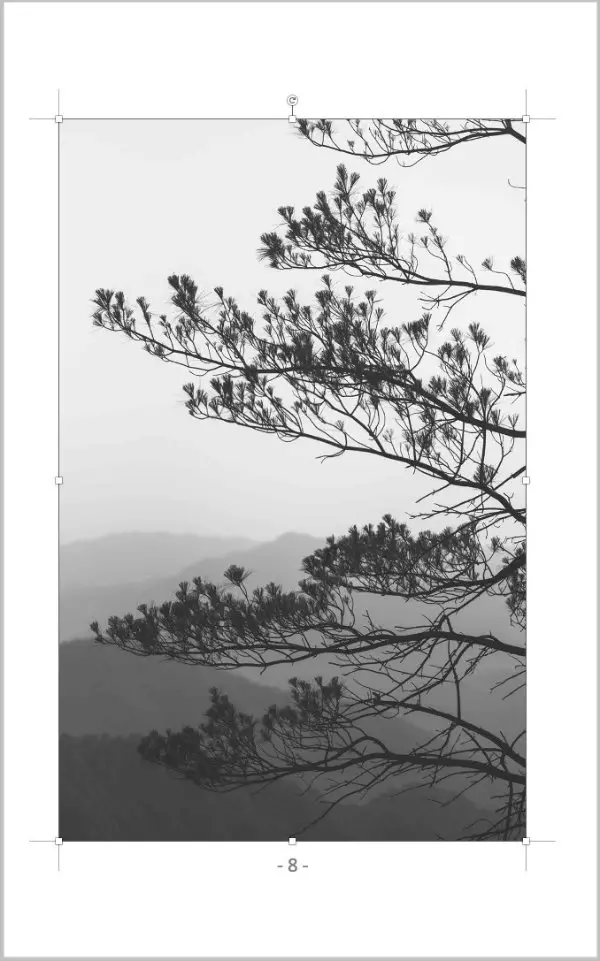
- Then insert a second text box in front of the image.
- Type the chapter title in the text box.

- Drag it where you want the title to be.
- Set a partially transparent background color behind the title.
You could center the text box so that the background image is visible around it.
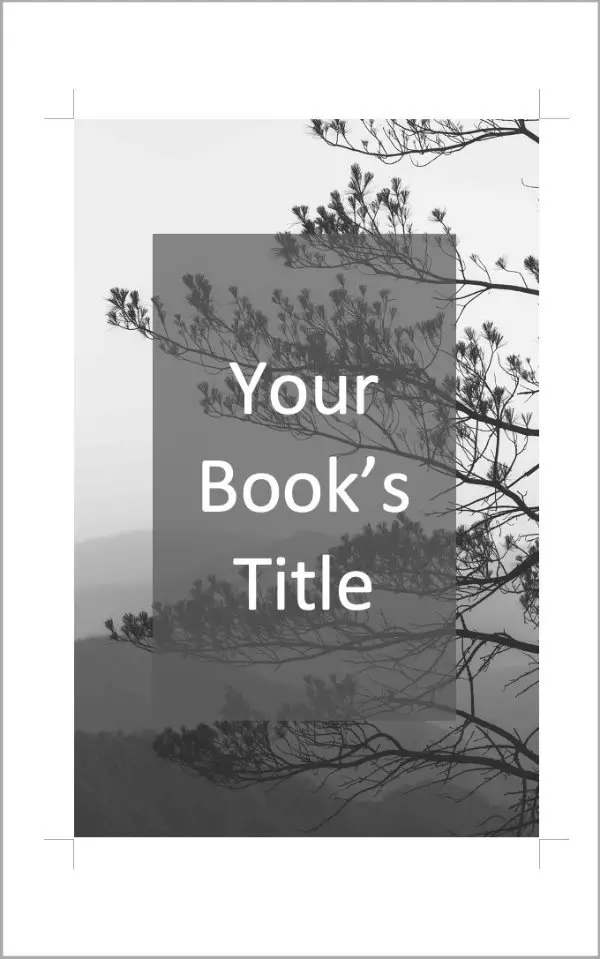
You might be happier with the result if you size the text box the same as the image.
Depending upon how transparent the background of the text box is, you could have an interesting title page with a full-page background image.
Other articles in this series:
Formatting Images and Captions in Microsoft Word for Print Books
How to Set Headers and Footers for a Print Book in Microsoft Word
How to Set Margins and Gutters For a Print Book in Microsoft Word
