Do you need to place text in front of an image? You may if you are creating a document header or perhaps an promotional flyer. I’ll show you how to put text over an image in OpenOffice Writer.
Table of Contents
How to Put Text Over an Image in OpenOffice Writer
People use different terms to describe the end goal of this exercise. Some call it placing text over an image. Some describe it as placing text on top of an image. Others call it placing text in front of an image.
The last of those is most accurate. To avoid any confusion, we will be placing text in front of an image where the text is in the foreground and the image is in the background.
I’ll assume your image is properly sized and ready to be inserted into your document.
Insert an image in OpenOffice Writer
It’s best to think of the process as building in layers. The first layer in this case is your background image.
To insert your image in OpenOffice Writer:
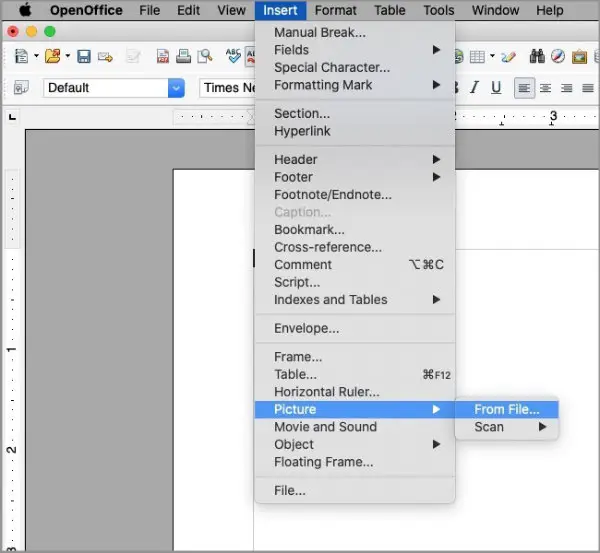
- Go to the Insert menu.
- Select Picture.
- Select From file….
- Select Open to insert your image.
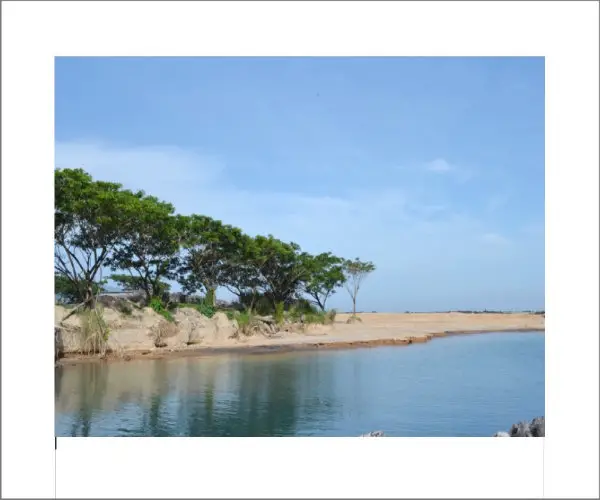
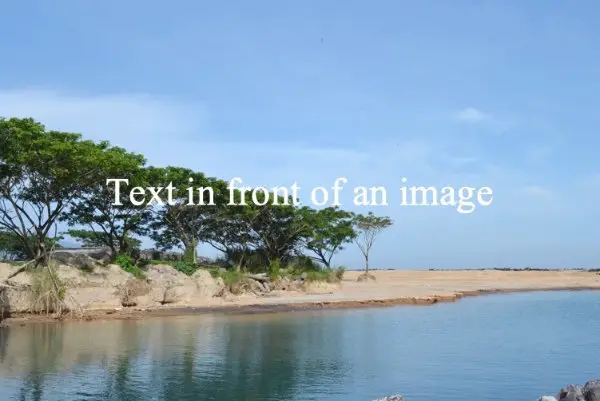
In the following example, I’ve inserted a image of scenery. You could use any image that suits your purpose. The process is the same with any image.
Insert text in front the image
The easiest way to add text in front of your image in OpenOffice Writer is to use the Draw toolbar. If the toolbar is not visible…
- Go to the View menu.
- Select Toolbars.
- Select Drawing.
The Draw Toolbar will be loaded in the left side of the bottom bar.

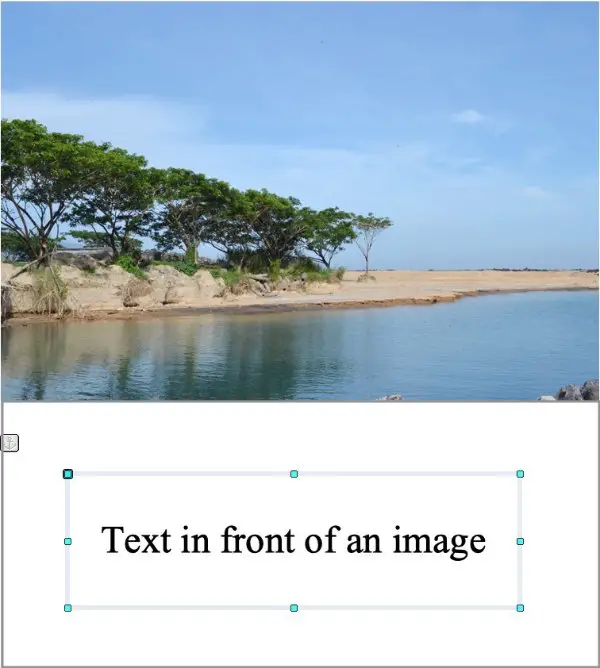
The text that you’re placing in front of the image will be in a Text box that you’ve drawn.
To draw the Text box, select the Text button from the Draw Toolbar.
Place your cursor in your document just below the image you inserted earlier. The cursor looks like a large + sign.
Click and hold while you drag your mouse to draw a box approximately the size and shape you need. When you release the mouse, you should see the cursor blinking in the top left corner of your new text box.
Type your text in the box. When you’re finished, click outside the text box.
You’re now ready to move the text in front of your image.
The way you click in the text box determines what you are able to do with the box and its text.
If you need to change the wording of the text, double-click near the existing text. A flashing cursor will appear just past the last existing character. From there you can add to the text, move the cursor backward to make a correction, or select and style the text.
If you need to resize the text box, single-click close to the text. There is a small square handle (button) half-way across the top and bottom. There is one half-way down both ends. Drag the top or bottom handle to resize the height of the box. Drag the end handle left or right to increase or decrease the width.
There are handles on each corner of the box. You can click and drag them inward or outward at an angle to change the height and width and the same time.
Move the text box in front of the image.
To move the text box up the page so that it is in front of the image, single-click on or near the text. You’ll notice a wide semi-transparent border around the box.
It doesn’t matter where within the text box you click, but when you click and hold on the border or inside the box, you can drag the box up the page until it is where you want it to be in front of the image.
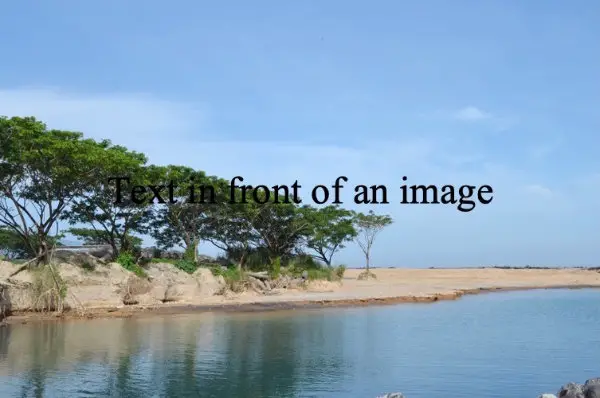
In the image above, the only styling I’ve done is to increase the font size. You can see the text but it is not clearly visible across the entire image because the text has a dark color.
Style text in front of an image in OpenOffice Writer
You can use the following method to style the text any way you want to. I’m going to style this example beginning with white text.
To change the text color to white, double-click the text so that the cursor is blinking at the end. Use either of these methods to select all of the text.
- Drag the cursor to select all of the text.
- Hold Control + A (Windows) or Command + A (Mac).
You should see the Drawing Object Properties panel along the right side of the window.
Find the font color setting and change it to white or whatever color works for your project.
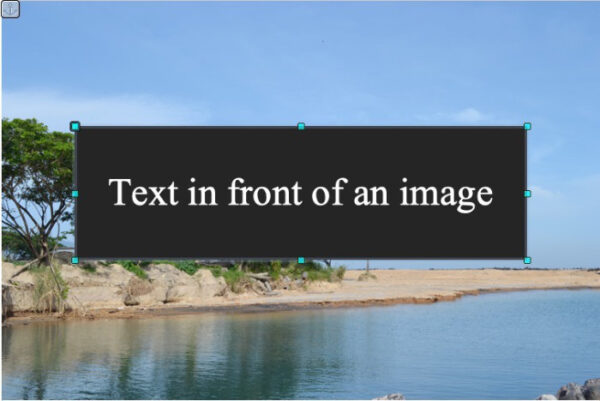
You can see in the image above that the text is more visible. To improve it more, I’m going to add a transparent background to the text box.
In the following image I’ve added a background of the color grey 9 from the Drawing Object Properties panel. You can see that it is a solid, non-transparent color.
To add a color to the text box…
- Look for Fill under Properties in the panel.
- Click the box below the word Fill.
- Select Color.
- In the box just to the right of Color, click to select your background color.
Make an OpenOffice Writer text box have a transparent background
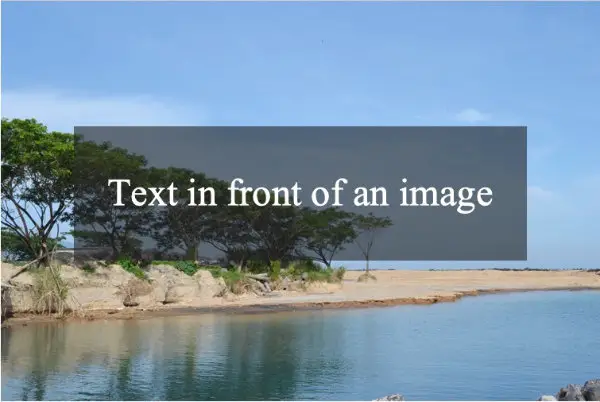
The text in front of the image is definitely more legible now, but it blocks a large part of the background image.
To fix that problem, I’m going to make the text box background partially transparent.
Click inside the text box to activate the properties panel.
In the panel just below the background color, there is a setting labeled Transparency. By default it will say None.
To the right of the box that says None, click the up arrow to make the background more transparent. In the following image I set the transparency to 40%.
When you change the number to anything above zero, the word None in the left box changes to Solid. That causes the transparency to be the same in all areas of the text box.
If you click in the box that now says Solid, you see a list of transparency options that give the transparency a more attractive appearance. I won’t demonstrate them here, but you can just set your transparency amount to 40% (or any other number) and cycle through the options in the left side box. You’ll some that provide linear gradients, lighter in the center, darker in the center, and more.
Round the corners of a text box in OpenOffice Writer
Your project may be one in which the text box would look a bit better with rounded corners.
You can give the text box a corner radius (rounded corners) easily, but the method is not obvious.
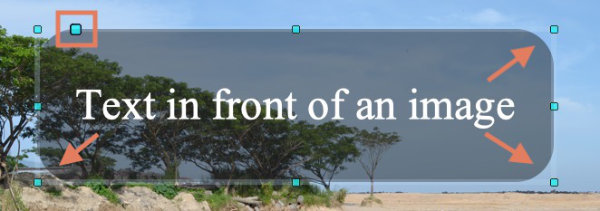
To give a text box rounded corners, single-click the text to activate the handles at the corners, top, and bottom of the box.
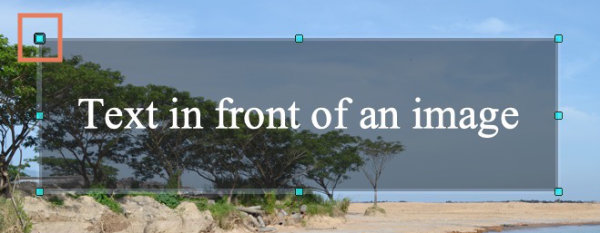
If you look carefully at the handle (colored square) in the top left corner of the text box, you’ll notice the handle appears slightly larger and has a rounded square outline around the square. The larger square is actually a radius control that is parked by default in the top left corner of a square-cornered text box.
Hold your mouse over the square. When it turns into a hand, drag it slowly toward the top center handle. As you drag it you’ll see the corners of your text box begin to round.
The closer you get to the center handle, the more round your box will become. You’ll first see slightly rounded corners, then the text box will become oblong pill-shaped, and finally oval-shaped.
In the following image you can see the square has been moved from the corner toward the center. The corners of the text box are rounded.
Bonus tip #1: Using vertical text in front of an image in OpenOffice Writer
You can use vertical text in which the text in your text box is on its side. In that case, the text can be read by tilting your head and reading from top to bottom or bottom to top.
- Use the instructions above to create your text box and type in the text.
- Select the box by clicking on it once.
- In the Drawing Object Properties Panel, be sure the bottom section labeled Position and Size is open.
- In the Rotation area you’ll see a setting that says 0.00 degrees (if this is the first time you’ve adjusted this setting).
- 90.0 degrees will set it to read from bottom to top. 180.0 degrees will turn your text upside down. 270.0 degrees will set your text to read from top to bottom.
You can enter the amount manually by typing it in the box. You can also click the white downward-pointing arrow on a blue background to reveal some preset percentages you can choose.
In the Rotation area of the Drawing Object Properties Panel there is also a circle that looks like a clock with one hand. Place your mouse at the end of the “clock hand” and drag it around the circle to rotate the text box to any point along the circle.

Note: You may have heard that there is a vertical text box available in OpenOffice Writer. It is true that such a box is available. In my experience it seems to work fine in Windows but is problematic on Mac computers. It requires making some changes to your language settings in Preferences/Options on Windows and MacOS. I find that it is not worth the trouble, especially considering that you can get the same result by just drawing a basic text box from the Drawing Toolbar, then rotate it 90 or 270 degrees depending upon which direction you wish to read the text..
Bonus tip #2: Using stacked text in front of an image in OpenOffice Writer
You can also create your text box with stacked text where the letters are stacked on top of each other.
One way you can do that is to type your letters out in the text box then move the left and right sizing handles inward until all letters are forced to appear one below the other.
You will have better results with centering stacked text if you type the letters in one at a time and use Shift + Return to move down to the next character. Do this even for spaces between words. Otherwise, your words will run together. You can then select all of the text and center it.
Using the instructions you’ve just read, you should find it easy to have text attractively placed in front of an image in OpenOffice Writer. If it seems a bit difficult at first, go through the steps again. You’ll soon find yourself placing text in front of images with no trouble at all.
