It can seem difficult to keep images and captions together in MS Word if you are formatting a book for print. In this article you’ll learn how to place your images and captions in Microsoft Word so they stay together on the page.
Table of Contents
Add images and captions in Microsoft Word
The purpose of this tutorial is to help simplify the process of keeping images and captions together when you are formatting a print book in Microsoft Word.
It can be tricky to do if you use the Insert > Caption feature. That feature is not really designed for a project like we’re discussing. Therefore, I’ll focus on what I believe is the easiest way to insert a photo in MS Word while keeping the captions in place.
Most Word users are familiar with the process of inserting images via the Insert tab. That process inserts the image directly into the document. It can be inserted inline with text wrapped around it or it can be inserted into a line of its own.
Instead of inserting the image directly, we will use insert text boxes, then insert the images and captions into the text boxes.
How to insert text boxes in MS Word
The screenshot images in this tutorial are from the Mac version of Microsoft Word 365. The settings panels in Windows have a different appearance but the settings are there. Any difference in instructions for Mac and Windows are minor and noted.
To insert a text box into your Word document, place your cursor where you want the text box inserted.
- Open the Insert tab.
- Find the Text box button (should be near the Word art button which has an uppercase A standing on one leg).
- You will see two options. Choose Draw Text Box.
- Your cursor should change to a cross similar to a large +. While holding your mouse button down, drag the cursor to draw a box the size you need to hold your image and caption.
In Microsoft Word for Macs, you can also draw a text box by going to the Insert menu and selecting Text Box > Text Box.
How to insert images in text box in Word
It would be a good idea to have your images optimized to the correct size before you insert them. You should use the Insert Picture function as described below to insure that your images are not degraded. Word allows you to drag images into place, but doing so may result in the image resolution being degraded.
You also set Word not to downsample the images in your file.
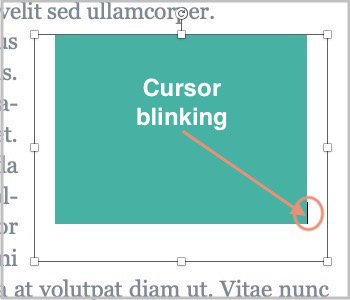
You’ll need to have your cursor inside the text box before you can insert an image into it. When you first drew the box, it opened with your cursor blinking inside it.
Microsoft Word text boxes are versatile formatting tools.
If you have moved your cursor out of the text box, you can place it back in there by clicking on the box to activate it. Then click the box again to place your cursor inside the box.
- With the text box activated and your cursor inside it, open the Insert tab.
- Click the Pictures button.
- Select Picture from File… (Mac) or This Device… (Windows)
- Browse to an image on your computer and click the Insert button.
- Your image should appear inside the text box.
You may have noticed there were three other locations on Macs to insert images from and two others on Windows. If you are using an image from one of those locations, choose it instead of Picture from File…or This Device…. You’ll find more information about using images in Word here.
How to insert captions under images inside Microsoft Word text boxes
If you drew the text box larger than your image, you can click on the border of it and drag the sides in.
Before you do that, though, let’s add a caption to the image.
Try clicking below the image with your mouse. If you see the cursor blinking below the image, type your caption.
If you don’t see the cursor below the image, you’ll need to place your mouse right beside the right edge of the image. If the edge of the text box is so close that you have trouble doing that, temporarily drag the edge of the box outward by dragging the square handle on the right border of the box outward.
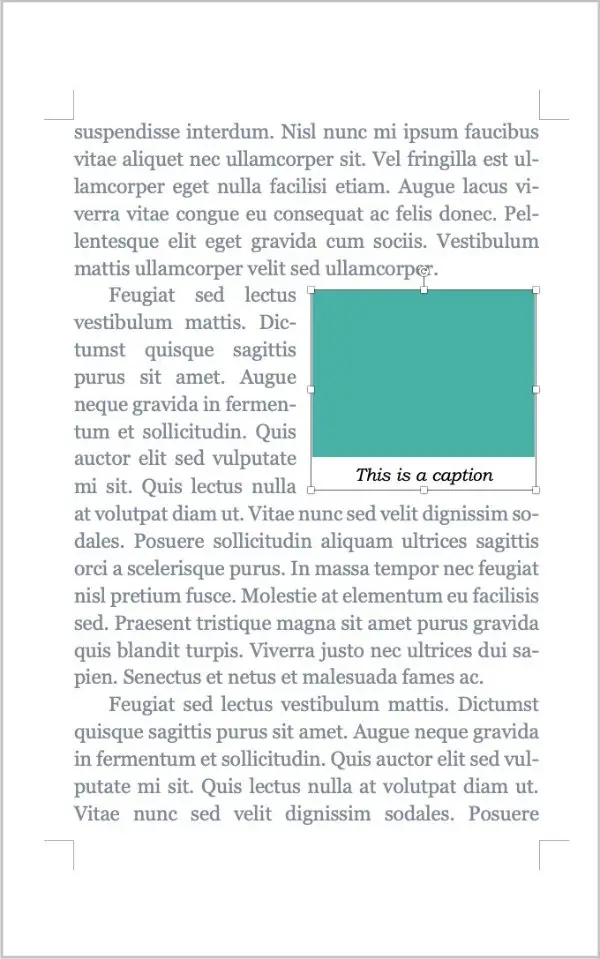
When you see your cursor blinking, hold the Shift key while you hit the Enter/Return key. Your cursor should now be just below the image.
Type your caption. You can select the text of your caption and use any of the text styling tools under the Home tab. You can center it, change the font, font size, italicize it, etc..
Formatting changes made to your caption text will not affect text outside the text box.
You can click on the border of the text box and drag the box to a different location.
When your cursor changes so that it has arrows pointing up, down, left, and right, drag the box where you want it to be. You can use this technique to nudge the image into better alignment with your text.
Be sure you drag the box and not the image inside the box. When you drag the box itself, whatever is inside will come along for the ride. If you click the image and try to drag it, you may find yourself dragging it right out of the text box.
Increase space between image and caption inside text box
If the caption is too close or far away from your image, you can make adjustments to it by using line spacing.
Line spacing that you use inside the text box should have no bearing on text in the main body of your document.
- Click once to select the text box, then again to place your cursor inside the box. Select the caption text.
- Click the Line Spacing button.
- Select Line Spacing Options.
- In the Spacing area, find Line spacing.
- Set the dropdown box to Multiple.
- In the small box to the right of Multiple, type in 1.3 and click OK.
If you don’t like the space above and below the caption, adjust the 1.3 incrementally up or down by tenths until you get the spacing you want.
How to remove the border from a text box in MS Word
When you have a text box selected in Microsoft Word, you will see a thin border around the box. That box shows the boundaries of the box itself.
If you click in a paragraph that is clearly outside the text box and see that the box still has a border around it, that is what Word calls an outline.
You can remove that outline/border. You’ll need to have the Shape Format tab open. To make that tab available, select the text box.
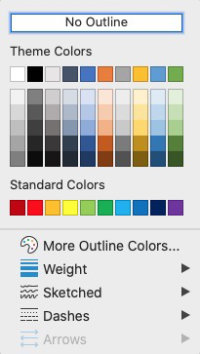
- Open the Shape Format tab and find the Shape Outline button.
- Click the small arrow on the right end of the button.
- At the top (Mac) or middle (Windows) of the formatting panel that opens, click No outline.
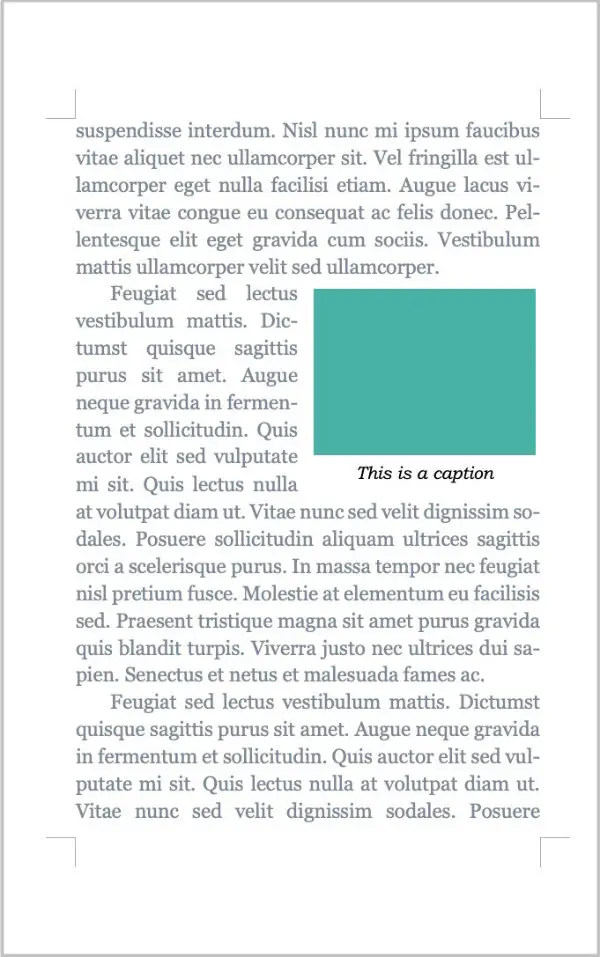
Now, when you click away from the text box, you should just see your borderless image with its caption underneath.
Note: Your text box may insert with a background (fill) color which you would probably not want in this situation. You can remove that fill using the same procedure as removing the outline. Instead of clicking the Shape Outline button from the Shape Format tab, click the Shape Fill button then click the No Fill button.
Wrap text around text box in MS Word
Depending on the layout and dimensions of the image you are inserting, you’ll decide whether you want the image on a line by itself or inline with text wrapped around it.
In the example you saw in the previous image, I’ve inserted an image that is small enough to have text wrapped around it. I chose to wrap the text on the left side of the image.
- To wrap the text, select the boundary of the text box. Be certain you select the text box boundary and not the image itself.
- With the text box selected, right-click on the boundary of the box.
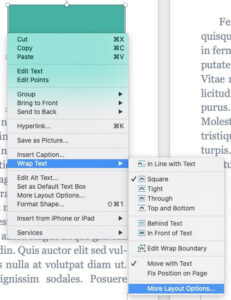
- Select Wrap Text.
- Select More Layout Options to open the Advanced Layout panel.
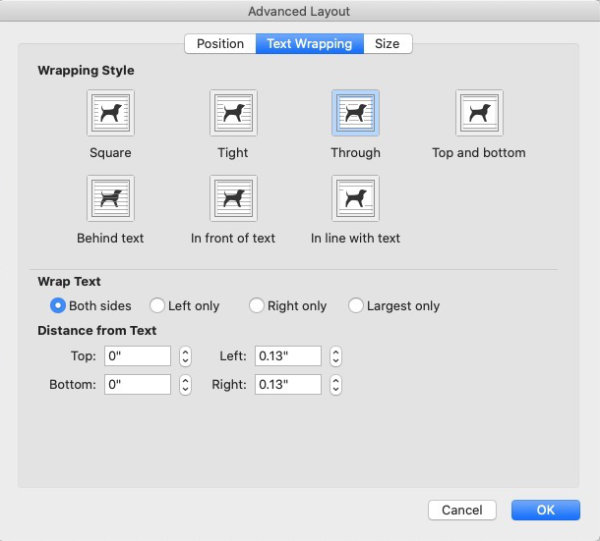
- Open the Text Wrapping tab.
- In the Wrapping Style section, select either Through or Square.
- In the Wrap Text section, select Both sides. (You can select Right if your image is left aligned or Left if your image is right aligned. Both sides will work either way.)
In most cases you will want your image to stay in place if you add or delete content on other pages, causing the paragraph where you inserted the text box to move back or forward in your document.
To insure that happens, be sure to select Move object with text in the Position tab of the Advanced Layout panel (Right-click > Wrap Text > More Layout Options).
You can select Move with text from the menu when you right-click the boundary of the text box.
- Right-click the text box boundary.
- Click Wrap Text.
- Select Move with text.
More tips for formatting books for print in Microsoft Word
This article is part of a series about formatting books for print in Microsoft Word. You might also be interested in these articles:
How to Set Headers and Footers for a Print Book in Microsoft Word
How to Set Margins and Gutters For a Print Book in Microsoft Word
How to Use Text Boxes in Microsoft Word to Format a Print Book
You can find more about using text boxes in MS Word in Microsoft’s official documentation.

