Scrivener is powerful writing software that allows you to organize your projects in different ways. Using labels in Scrivener, you create visual markers that help you distinguish certain types of files and folders. Labels have colors, and you can display these colors in the Binder, Corkboard, and Outline. You can create custom labels and use them to sort files, get a high-level view of a project, and more.
Table of Contents
How to apply labels
The process of creating and assigning labels is a straightforward process. There are just a few steps to take. Use the following instructions if you are using labels in Scrivener V3 :
Adjust label settings
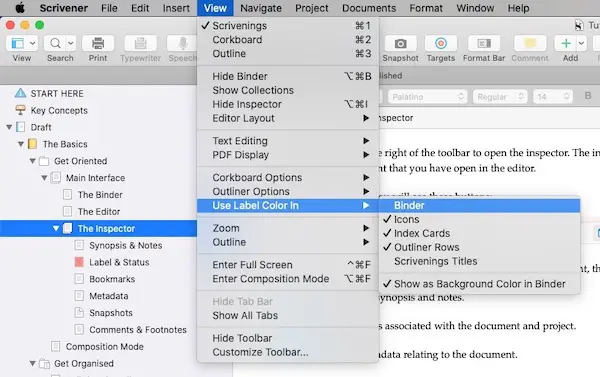
Mac: Go to View menu > Use Label Color In and select Binder. This will ensure the label colors are applied in the Binder as well as the Corkboard.
Windows: Go to View menu > Use Label Color In > Binder to turn on label colors in the Binder.
Select a file
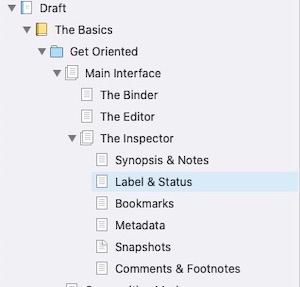
The first step is to click on a file in Scrivener’s Binder to select it. Be sure to choose the file that you want the label assigned to.
Edit labels
Mac and Windows: To work with labels, right-click on file name that you selected in the previous step under “Select a File.” Choose Edit at the bottom of the sub-menu.
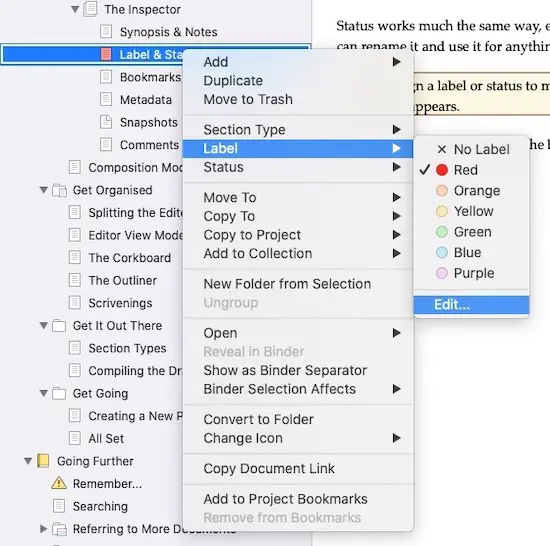
Make sure you’re on the Labels tab in the left column. Then use the + and – buttons to add or delete labels.
Double-click on a label name edit its name. When the name is highlighted, type in the preferred name.
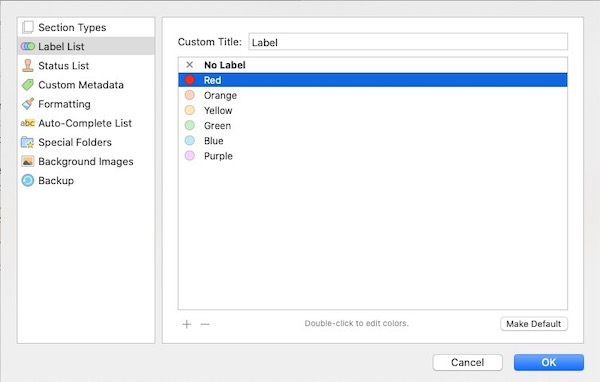
Double-click on a label’s color circle to edit its color. (A color chooser panel will open.)
How to view labels
Depending on where you are working in Scrivener, you may wish to view labels in different ways. For example, you can set them to show as dots in the binder and corkboard. Or you can view them as dots in the binder and card background colors in the corkboard.
Binder or index card dot labels
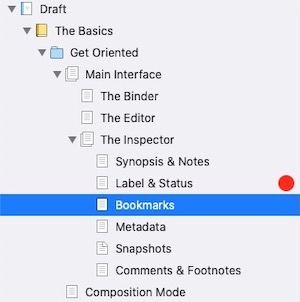
Mac: Choose View > Use Label Color In > Binder to view labels as colored dots to the right of the file name in the Binder.
Windows: Choose View > Use Label Color In > Binder to view labels as dots in the Binder to the right of the file name.
Binder or index card icon labels
Mac: Choose View > Use Label Color In > Icons to view label colors as colored icons to the left of the file name in the Binder.
Windows: Choose View > Use Label Color In > Binder to view label colors in the Binder icons to the left of the file name.
Binder background labels
Mac: Choose View > Use Label Color In > Show as Background Color in Binder to view labels as background colors behind the entire file title in the Binder.
Windows: Choose View > Use Label Color In > Show as Background Color in Binder to view labels as background colors behind the file title in the Binder.
Corkboard labels
Mac and Windows: Choose View > Label Color In > Index Cards to view labels as index card colors in the Corkboard.
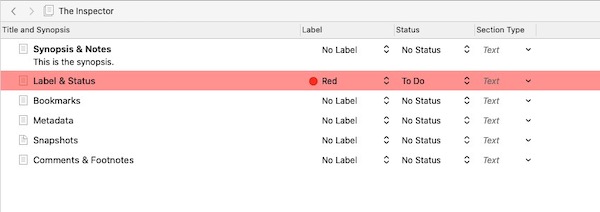
Outline labels
Mac and Windows: Choose View > Label Color In > Outliner Rows to view labels as colors across rows in Outline view.
Creating custom labels
Scrivener comes with six preset labels, but you can create your own:
- Mac and Windows: Double click a label name or color circle to edit it.
- Mac and Windows: Use the + and – buttons to add or delete labels.
- Mac and Windows: To make a label the default for new docs, select it and click Make Default.
Custom labels can reflect character names, time periods, settings, draft status, etc.
Using labels in Scrivener for different purposes
Labels are flexible – use them however suits your project:
- Indicate different POV characters: Create a label for each POV character like “John POV,” “Mary POV” and assign those labels to files/scenes from that character’s perspective.
- Show present time vs. flashbacks: Make labels like “Present Day” and “Flashback” and use them to tag scenes happening in current timeline vs the past.
- Mark different settings: If your story has defined settings like multiple planets or time periods, make labels for each one to visually code scenes.
- Show draft status: Use colors to indicate draft status, like red label for early draft, yellow for revised, green for final.
- Separate research, character profiles, etc.: Make labels for different types of materials to quickly identify them in the binder.
- Indicate priority or completion level: Use labels like “High Priority”, “Completed” etc. to mark key scenes or your progress.
Other resources
A note about this tutorial. All of our Scrivener tutorials are based on our own experience with Scrivener. If you would enjoy more in-depth training, we recommend Joseph Michael’s Learn Scrivener Fast Course.
