In this article, you’ll learn five simple steps that will help you insert a text box in Google Docs. Whether you’re a student looking to add a professional touch to your assignments or a professional wanting to make your reports stand out, this step-by-step guide will be helpful to you.
Table of Contents
You’ll learn to create visually appealing and dynamic documents by using different fonts, colors, and sizes. Plus, we’ll share some creative tips and tricks to enhance your text boxes further.
Benefits of using text boxes in your documents
Text boxes are powerful tools that can greatly enhance your documents in Google Docs. By adding text boxes, you can create visually appealing layouts, highlight important information, and make your documents more engaging for your readers.
Here are some other key benefits of using text boxes in your documents:
1. Organize information: Text boxes allow you to neatly organize and separate different sections of your document. By adding text boxes, you can easily create visually appealing layouts that are easy to read and navigate.
2. Highlight important content: Text boxes are a great way to draw attention to important information in your document. Whether it’s a key point, a quote, or a call to action, placing it in a text box will make it stand out and grab your reader’s attention.
3. Create visual interest: Text boxes offer a wide range of customization options, allowing you to add visual interest to your document. You can choose different fonts, colors, and sizes to make your text boxes visually appealing and in line with your document’s overall design.
4. Improve readability: By separating your text into different text boxes, you can improve the readability of your document. It breaks up large chunks of text and makes it easier for your readers to follow along and understand the content.
5. Enhance collaboration: When working with others on a document, text boxes can be a valuable tool for collaboration. You can use text boxes to leave comments, suggestions, or feedback, making it easier for your team to collaborate and make revisions.
Insert a text box in Google Docs
Following is a step-by-step guide on how to insert a text box in Google Docs.
Accessing the text box feature in Google Docs
To begin, you need to access the text box feature in Google Docs. Follow these simple steps:
- Open Google Docs and create a new document or open an existing one.
- Click on Insert in the top menu bar.
- From the drop-down menu, select Drawing.
- A new window will open with various drawing tools. Here, click on the text box icon, which looks like a capital T in a square.
Inserting a text box in your document
Once you’ve accessed the text box feature, use these simple steps to insert a text box:
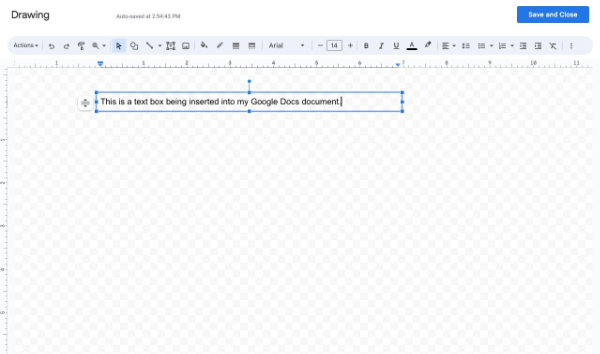
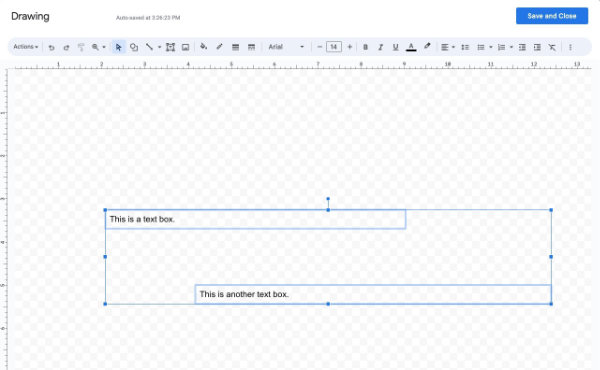
- Once you have clicked on the text box icon in the Drawing window, your cursor will change to a plus sign (+).
- Click and drag your cursor on the document where you want to insert the text box.
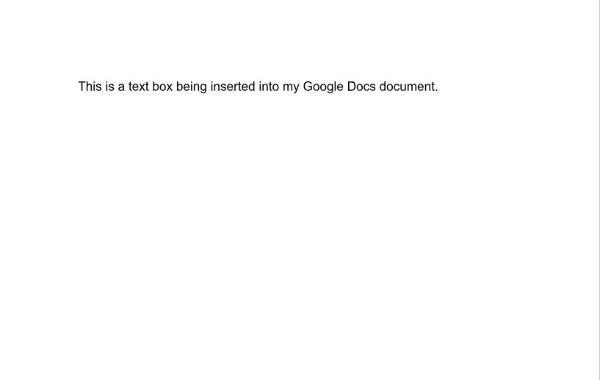
- Release the mouse button, and a text box will appear in your document.
Adding text to your text box
It’s time to add some text to your text box. Follow these simple steps:
- Click inside the text box to activate the text editor (the same panel you saw when you first drew the box).
- Start typing your desired text.
- You can format the text within the text box using the toolbar that appears above it. Use the instructions below.
Customizing the appearance of your text box
The appearance of text boxes in Google Docs can easily be customized. You can change the font, color, size, and more.
Here’s how:
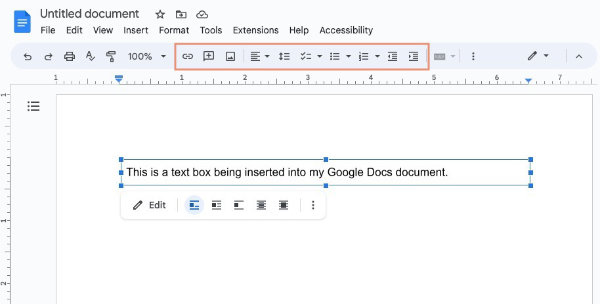
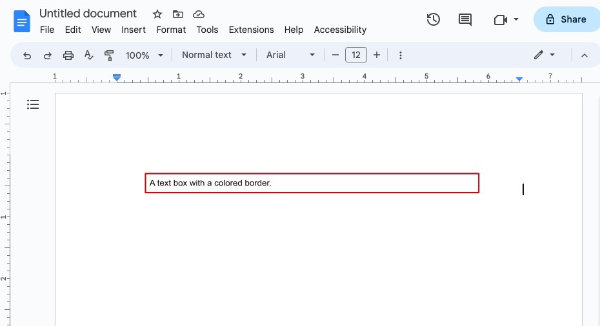
- Click on the text box to select it.
- As shown in the image above, you will see the normal toolbar at the top change to show various customization options for text boxes. A small toolbar below the text bar also appears for image settings.
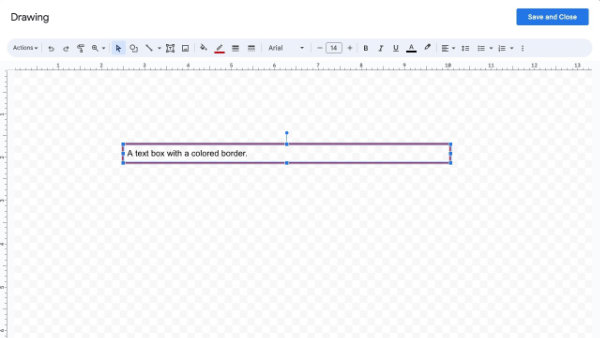
- Use the toolbar to change the font, font size, font color, and even add a border color to your text box.
- Experiment with different options to find the look that best suits your document.
Note: If necessary, you can also change the appearance of your text box after you’ve typed your text into the box. Just click the box to activate the toolbar.
Formatting and editing your text box
Once you have added text to your text box, you may want to further format and edit it. Here are some useful tips and tricks:
1. To resize your text box: Click and drag the blue square handles located on the sides and corners of the text box. You may find that you can’t enlarge the box if the text inside does not include enough words. Enlarging the font size should allow you to increase the box size. You can also change the box’s dimensions if the box includes a larger amount of text. For example, you can make the box taller or wider. Drag the blue handles to experiment.
2. To move your text box: Click and drag the text box to the desired location within your document.
3. To delete your text box: Click on it to select it, and then press the Delete or Backspace key on your keyboard.
4. To copy and paste your text box: Click on it to select it, then press Ctrl+C on Windows or Cmd+C on Macs to copy and Ctrl+V on Windows or Cmd+V on Macs to paste.
Additional tips and tricks for using text boxes in Google Docs
1. Grouping text boxes: If you have multiple text boxes that you want to move or resize together, you can group them. To do this, hold down the Shift key on your keyboard and click on each text box you want to group. Then, right-click on one of the selected text boxes and choose Group from the menu. This allows you to drag one of the boxes and see all of the grouped boxes moving together, maintaining their original relative positions.
2. Adding shapes to your text box: You can further enhance your text boxes by adding shapes to them. To do this, select your text box, click on Insert in the top menu bar, and choose Shape from the drop-down menu. Select the desired shape and drag it onto your text box. Shapes can work similarly to text boxes. If you want a shape to stay in a certain location relative to the text box, you can group them as instructed above.
Conclusion
There are just a few simple steps involved to insert a text box in Google Docs. You can easily add professional-looking text boxes, customize their appearance, add text, and format them to create visually appealing and dynamic documents. Remember to experiment with different fonts, colors, and sizes to find the look that best suits your document. And don’t forget to utilize additional tips and tricks, such as grouping text boxes and adding shapes, to further enhance your text boxes.
