OpenOffice makes it easy to insert images in Writer documents. However, if you need to rotate images after you insert them, the process isn’t quite so simple. We’ll show you how to rotate an image in OpenOffice Writer.
Table of Contents
How to insert images in OpenOffice Writer
We’ll assume you already have an image stored on your computer. You insert images in OpenOffice Writer by first placing your cursor in the page where you wish to place the image.
- Go to the Insert menu and choose Picture, the From file….
- Browse to your image and click the Open button.
Your image should display in your document where you wanted it.
How to flip an image in OpenOffice Writer
Without help from another app, OpenOffice can only flip images. It cannot rotate them. If you only need to reverse the direction of your image, you can do that using the Picture toolbar. If you need to actually rotate an image, we’ll cover that in the next section.
If the Picture toolbar does not display when you insert the image, you can open it by going to the View menu. Choose Toolbars, then Picture.
- Select your image by clicking on it. In the Picture toolbar, there are two icons/buttons that allow you to flip the image horizontally or vertically. Those buttons look like a horizontal document and a vertical document, both with gold bands across them.
- When you mouse over the buttons, you should see tooltips that say Flip horizontally and Flip vertically. Click the appropriate button to flip your image.

Remember, flipping the image does nothing to rotate the image in a circle. It only flips the image left and right or up and down.
How to rotate an image in OpenOffice Writer
To rotate an image in OpenOffice Writer, we’ll need to enlist the help of an outside app. There are a lot of software apps that will rotate images. Some come with your computer, like the Preview app on Mac computers.
In the case of OpenOffice Writer, you can rotate your image in the Draw application. You can also do it in the Impress app, but we’ll focus on the Draw app in this tutorial.
With OpenOffice Writer open:
- Go to the File menu
- Click New…
- Click Drawing to open OpenOffice Draw.
The process for inserting images in Draw is the same as it was for inserting them into Writer documents.
- Go to the Insert menu.
- Click Picture
- Click From file….
- Browse to your image and select it.
- Click the Open button.

The image should appear in your Draw document. To rotate the image:
- Click the image once to select it. You should see three small green squares (handles) on all four sides of the image.
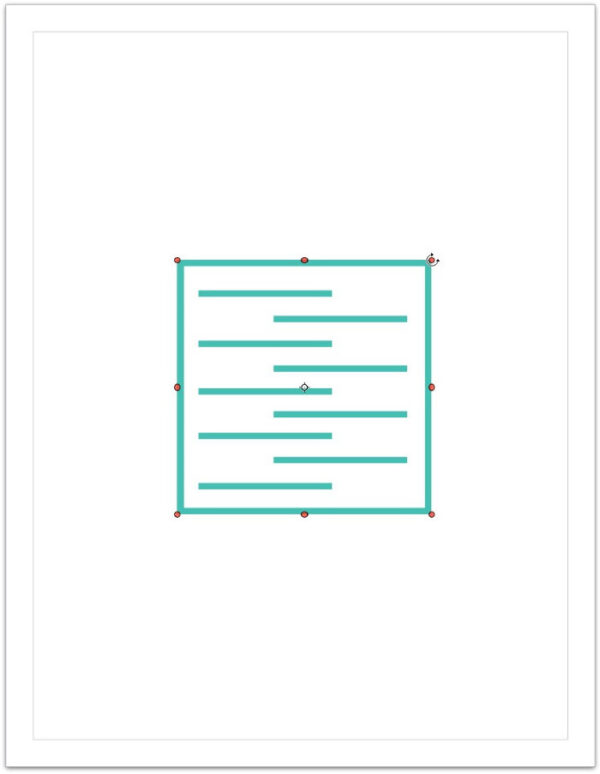
- Click the image one time again. The green squares surrounding the image should become red dots. Those red dots are the handles you’ll use to rotate the image.
- When you mouse over one of those red dots, your cursor will change to an open circular cursor with an arrow on each end. If you don’t see that circular cursor, hold your mouse steadily over the red dot and move it ever so slightly until the cursor becomes that circular one.
- Drag the red dot in a circle left or right until the image is at the angle you want it to be.

If you need to rotate the image a bit more, click the image again twice so you see the red dots, and use the same process to rotate it a little further.
Note that when an image is rotated, those squares/dots do not rotate with the image. They stay in the same position they were when you started the rotation.
When you click the image to rotate it a second or third time, be sure you click inside the image itself. If you click outside the image, but within the square represented by the green squares, the squares will not turn into red dots. You must click on the image itself, no matter what angle it is sitting.

How to move the rotated image back to Writer
Moving the rotated image back into OpenOffice Writer is very easy.
- in OpenOffice Draw, when your image is rotated as you wanted it, use Control + A (Windows) or Command + A (Mac) to select the image.
- With the image selected, use Control + C (Windows) or Command + C (Mac) to copy the image.
- Go back to the location in your Writer document where you want the rotated image to appear. Use Control + V (Windows) or Command + V (Mac) to paste the image into your document.
If you’re not comfortable using keyboard shortcuts to select, copy, and paste the image, you can do the same by using these menu commands:
- Edit menu in OpenOffice Draw > Select All to select the image.
- Edit menu in OpenOffice Draw > Copy to copy the image out of Draw.
- Edit menu in OpenOffice Writer > Paste to insert the image into your Writer document.
The image should paste into your Writer document in its rotated state just as you saw it in Draw.
Final note about rotating images in OpenOffice Writer
If instead of OpenOffice Draw, you use a different app outside of OpenOffice to rotate the image, you may need to export it out of that app to a place on your computer. That process will vary, depending upon the particular software you use to do the rotation.
You’ll then use the directions at the beginning of this article to browse to the rotated image and insert it into your Writer document.
The simplest way is to just go through the entire process using OpenOffice. The Draw and Writer apps have been created to work together and can easily manage rotating and inserting your image.


