Vellum is a remarkable app that produces exactly the type of book files that I need for my work, including print and eBooks. In this article I’ll show you how to customize your book’s design and change fonts in Vellum.
Table of Contents
If you are a writer who aspires to publish your own work, you probably know the importance of presenting that work in the most professional way that you can manage. The job isn’t finished when the editing ends.
I write all of the content for TheTechieSenior.com as well as The Techie Senior Tipsheet. I am also a fiction author who chose to go the indie route.
I write all of my articles and books in Scrivener, then use Microsoft Word in the editing process. Eventually the editing is finished and it’s time for formatting.
When the books are finished and edited, they have to be properly formatted. I could use a number of different software solutions to design my book interiors, some of them quite expensive and time-consuming to learn. Or I could pay someone or a service to format my books for me. I choose to use Vellum.
Vellum gives you a choice of twelve standard and two accessible fonts for the body of your book.
Vellum is only available for Macs, but can be run on a virtual Mac as well. A virtual Mac is a copy of MacOS that one can access via a website that offers virtual MacOS service. (Not an affiliate link.)
Some Vellum users are under the impression that they have to accept the font that Vellum loads by default. If you are one of those people, you might be glad to know that you can choose from a list of twelve standard fonts and two accessible fonts (in Vellum accessible styles only) to find one that better suits your needs.
Which fonts are available in Vellum?
If you need to change fonts in Vellum, you’ll find the following print edition fonts available for selection (at the time this article was written). (*) Indicates fonts added in Vellum version 3.
- Athelas
- Baskerville
- Cochin
- Crimson Text
- Fanwood
- Hoefler Text
- Iowan Old Style
- Palatino
- Times New Roman
- Crimson Pro (*)
- EB Garamond (*)
- STIX Two Text (*)
- OpenDyslexic (available only in the Dyslexic accessible style – requires Vellum 3.1 or later)
- Atkinson Hyperlegible (available only in the Legible accessible style – requires Vellum 3.1 or later)
How to Change Fonts in Vellum
There is no setting to specify the font for an eBook because the fonts that are available can vary depending upon the particular device or app the reader owns. In addition, the reader can change the font in her eReader device or app.
To select the font, you’ll need the Navigator panel set to be visible. It displays when Vellum is launched by default, but if you’ve set yours to be hidden, you’ll need to go to the View menu and click Navigator. A check mark next to Navigator in the View menu indicates it will be visible.
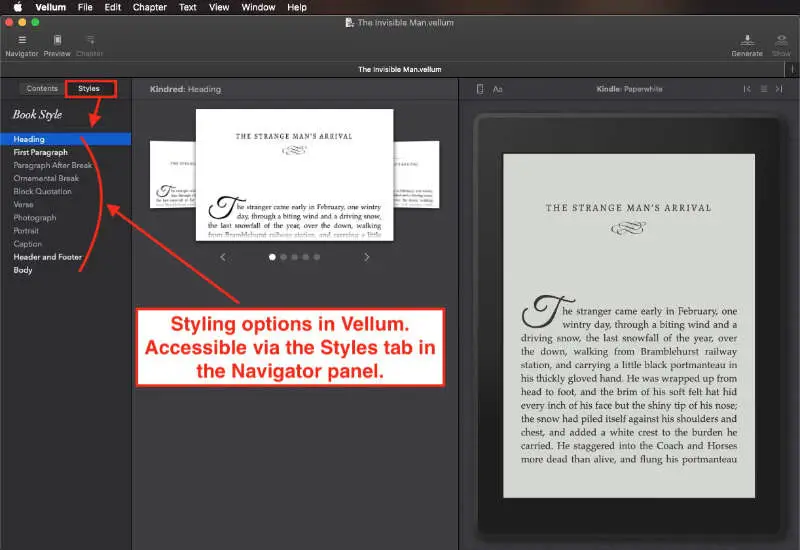
To change the font in the paragraphs of your print edition book, you’ll need to edit the font setting for the body. You’ll find the settings for fonts and several other parts of the book in the Styles panel.
With the Navigator visible:
- Open your book file.
- At the top of the Navigator panel, you’ll see two tabs titled Contents and Styles. Click Styles.
- Under Styles, you’ll see a list of style groups – Popular, Serif, Sans Serif, Script, and Accessible. Choose one of those or the last one, All Styles, to see all styles in a list.
- In the center panel of Vellum, find the style you want to use. Click to select it. The background of selected one will turn blue.
- In the upper right corner of the selected style listing, double click the Settings icon with slider bars.
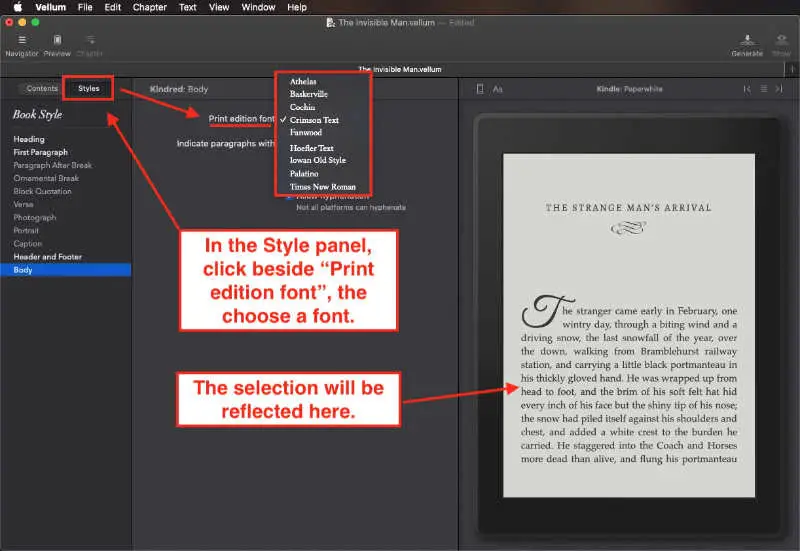
- In the left column you’ll see a list of styling options. Choose Body.
- In the center column, the first setting will be Print Edition Font.
- Click in that box and select the font you’d like to have as the font for your printed book.
The font you chose in the instructions above will be carried throughout the print version of your book.
More Vellum tutorials
You can find more Vellum tutorials here on TheTechieSenior.com.
If you haven’t decided yet if Vellum is for you, you can find more information about it here.

