In this tutorial, I’ll show you how to quickly create a hanging indent in Microsoft Word.
Table of Contents
What is a hanging indent?
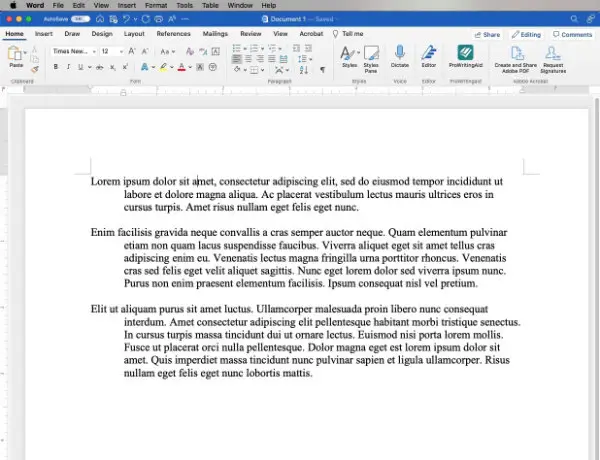
Hanging indents might be thought of as the opposite of normal indents. A normal indent would be one in which the first line of a paragraph is indented from the left. The remaining lines of the paragraph are left aligned.
A hanging indent has the first line left aligned with the remainder of the paragraph indented from the left. The standard for hanging indents is .5 inches from the left.
What are hanging indents used for?
If you are a writer who is required to abide by APA, MLA, or Chicago Manual of Style layout and styling standards, your work may call for hanging indents in your citation references or bibliographies.
Hanging indents make it easy to differentiate one reference from the next, particularly when there are several in the list.
In that case, the unindented line marks the beginning of each reference.
Create a hanging indent in Microsoft Word
It is easy to create a hanging indent in MS Word.
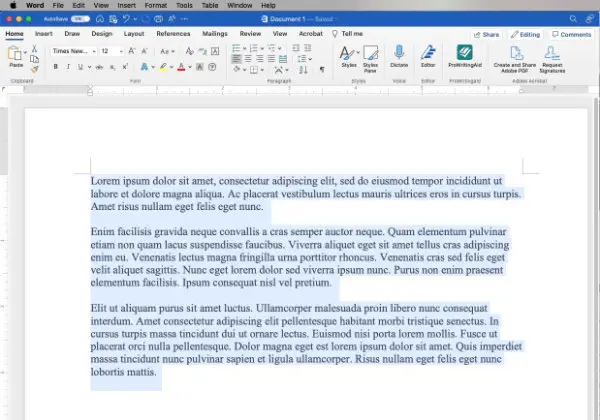
Start by selecting the text of the paragraph that should have a hanging indent.
Then use one of the following instructions, depending on whether you use Word on a Windows computer, a Mac computer, or online.
The default hanging indent size in Microsoft Word is .5″
Hanging indents in Word for Windows
In Microsoft Word for Windows, you’ll make your hanging indent settings in the Paragraph setting panel.
With your text selected, use one of the following two methods to open the Paragraph settings panel.
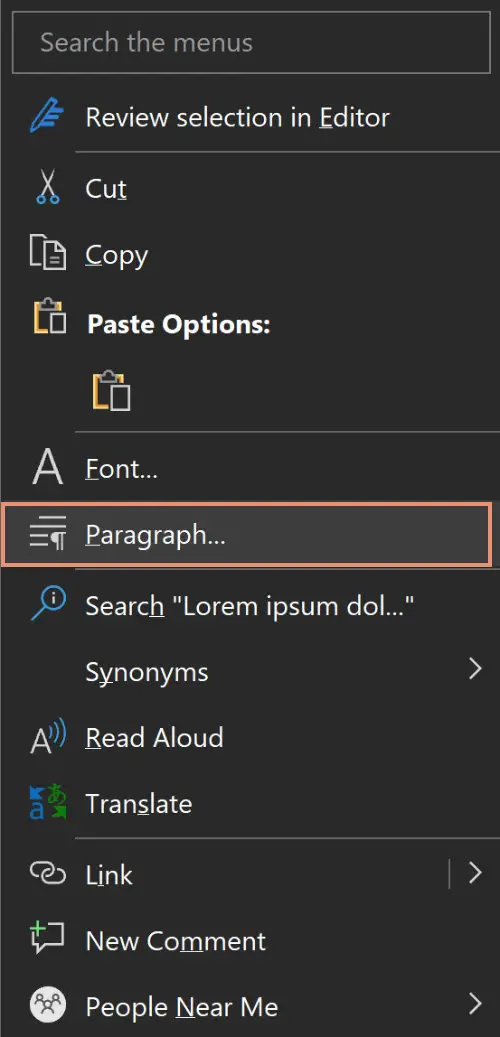
- Right-click the text and select Paragraph…
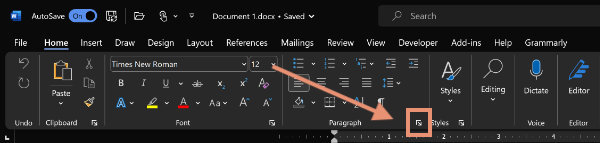
Open the Home tab or the Layout tab. Click the small arrow icon in the lower right corner of the Paragraph section of the ribbon.
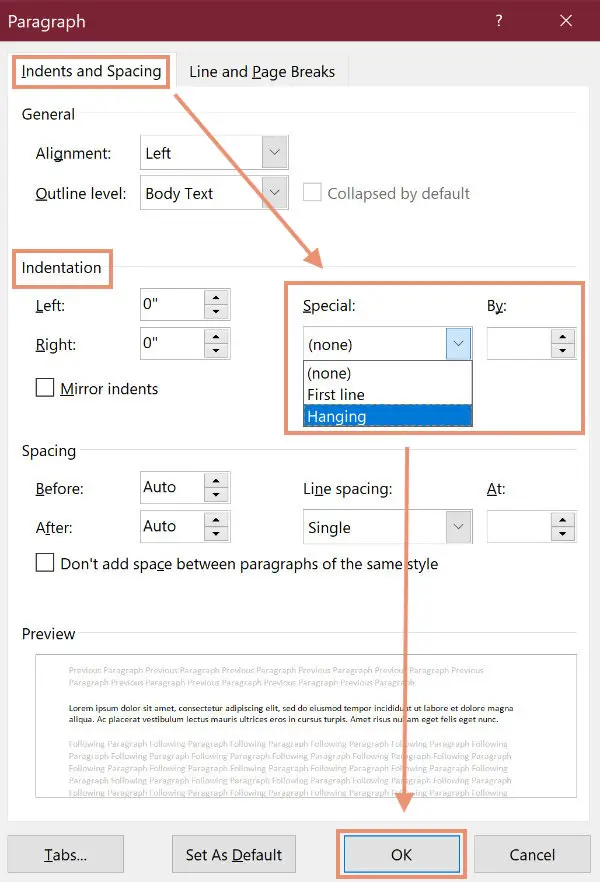
In the Paragraph settings panel:
- Open the Indents and Spacing tab.
- In the Indentation section, click the box below Special:
- Choose Hanging.
- Fill in the measurement for your indent, if necessary. The default is .5″ and should fill in automatically.
- Click the OK Button.
Hanging indents in Word for Macs
In Word for Macs, you’ll create the hanging indent in the Paragraph settings panel.
With your text selected, use one of the following three methods to open the Paragraph settings panel.
1. Right-click the selected text and choose Paragraph…

2. Go to the Format menu and choose Paragraph…
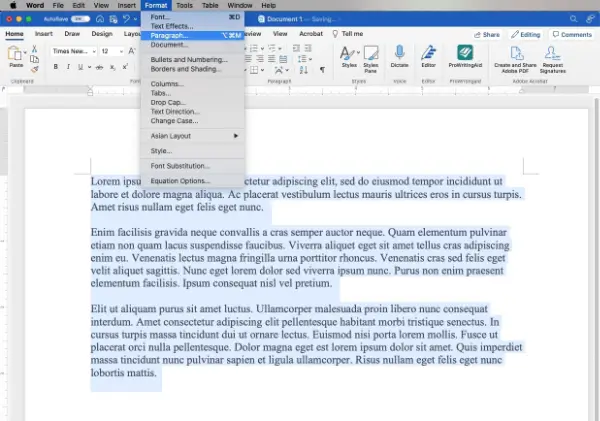
3. Use the keyboard shortcut Option + Command + M.
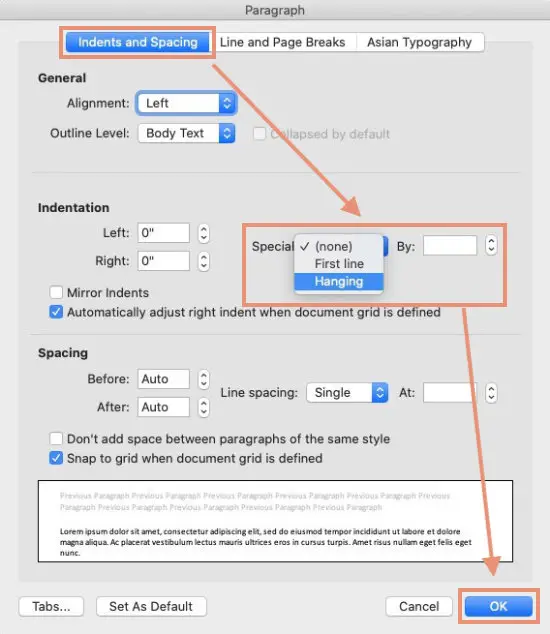
In the Paragraph setting panel:
- Open the Indents and Spacing tab.
- In the second section labeled Indentation, click the drop-down list labeled Special.
- Choose Hanging.
- The By: box should automatically be set to .5″. Change it if you need to.
- Click the OK button.
Hanging indents in Microsoft Word online
The available settings in the online version of Microsoft Word are arranged differently.
With your text selected, use one of the following three methods to open the Paragraph Options panel.
- Right-click the selected text and choose Paragraph Options…
2. If you use the Simplified ribbon, open the Home tab or the Layout tab. Click the three-dot button at the right end of the ribbon and select Paragraph Options.
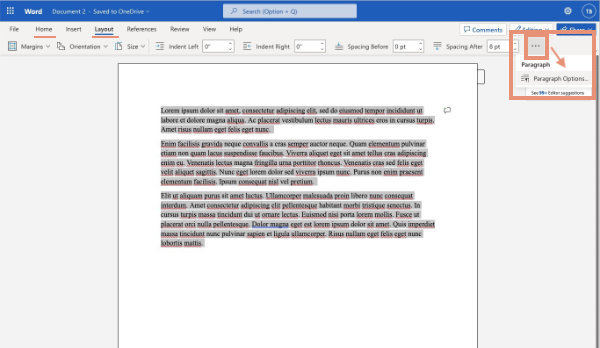
If you use the Classic ribbon, open the Home tab or the Layout tab. Click the small icon with an arrow in the lower right corner of the Paragraph section.
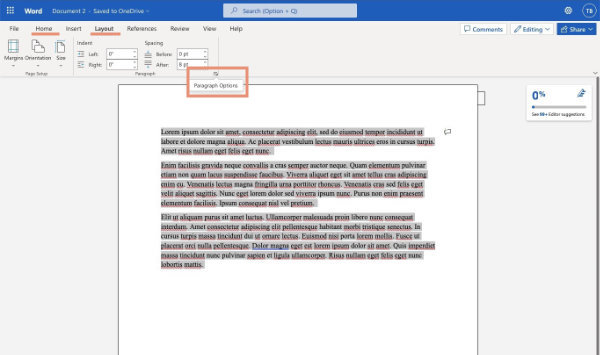
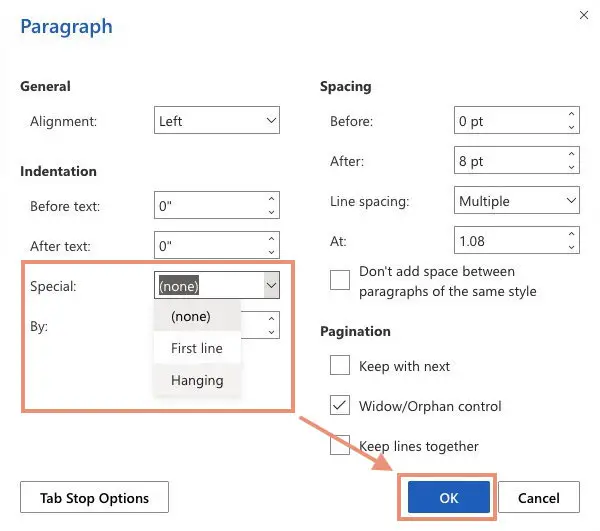
In the Paragraph Options panel:
- Locate Indentation: in the left column.
- Click on the dropdown box beside Special.
- Select Hanging.
- In the By: box, type in the size of your indentation. The default is .5” and is probably already set.
- Click the OK button.
You might also be interested in setting margins and line spacing in Microsoft Word.
